
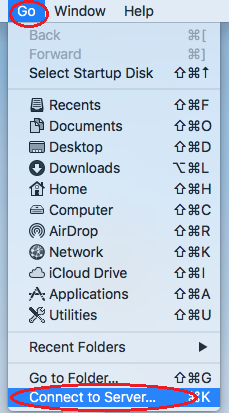
1. Open the Finder and choose Connect to Server from the Go menu
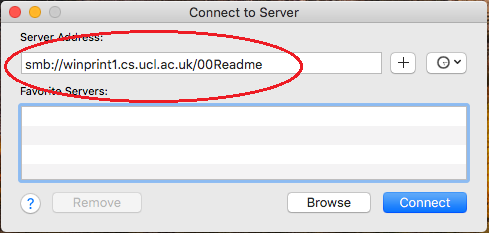
2. Connect to smb://winprint1.cs.ucl.ac.uk/00ReadMe (or smb://winprint2.cs.ucl.ac.uk/00ReadMe).
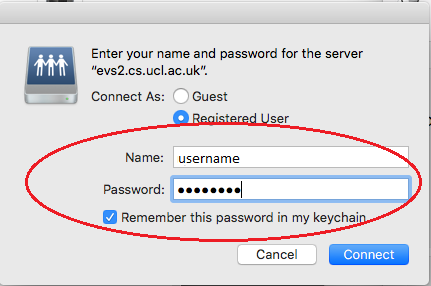
3. Login with your CS windows username and password
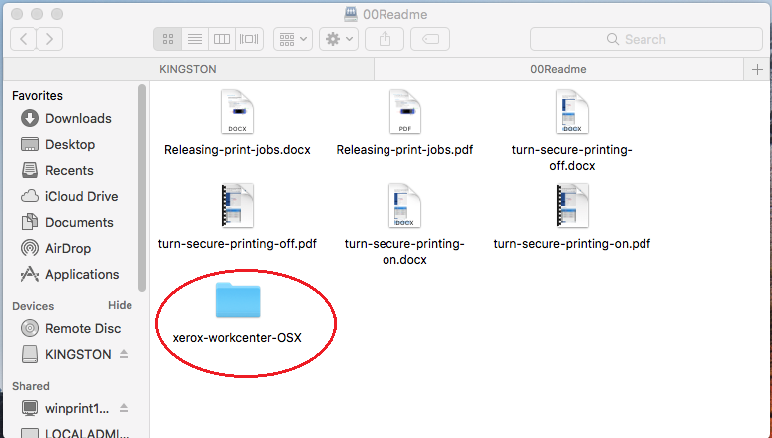
4. Open the Xerox-workcenter-OSX folder
5. Select the XC_Workcenter DMG file
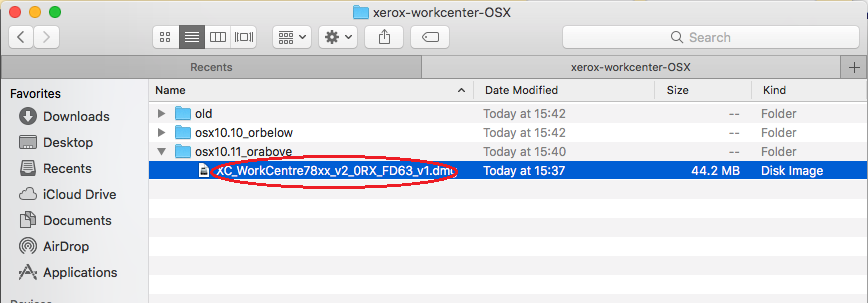
6. Copy the XC_Workcenter DMG file to your desktop
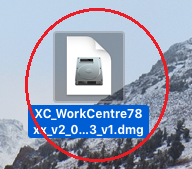
7. Open XC_Workcenter DMG file and the Fiery Printer Driver package
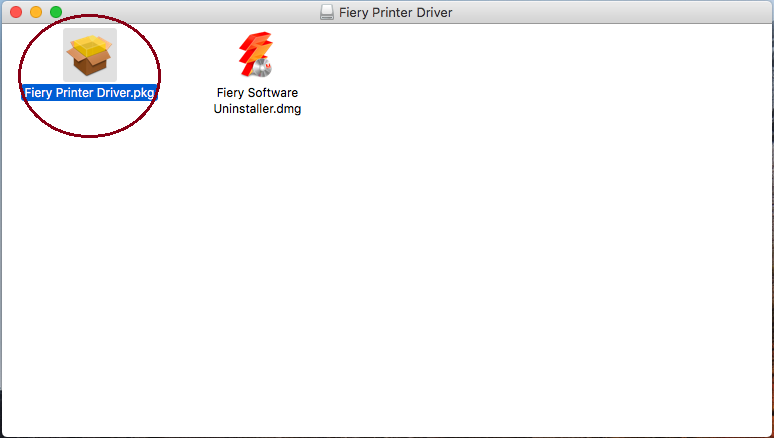
8. Start the installation process
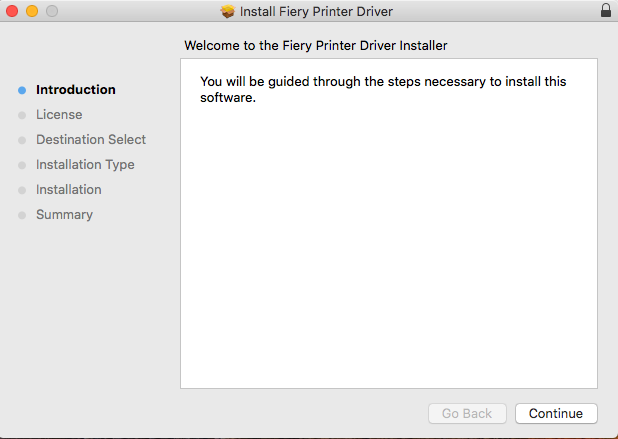
9. At the Find Printer window select Install Printer Driver Only
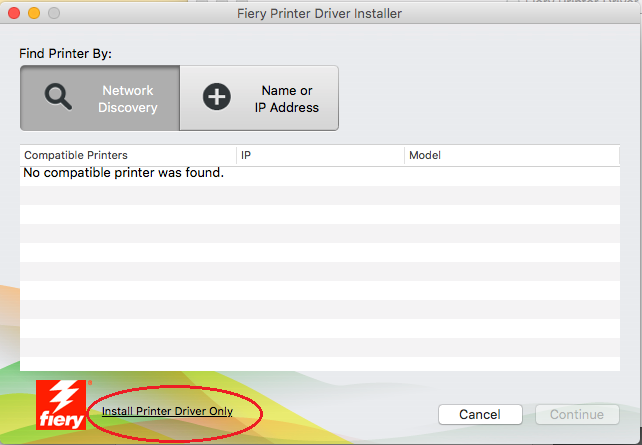
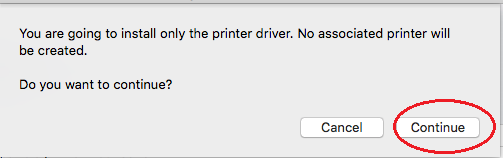
10. Select Continue to install printer driver
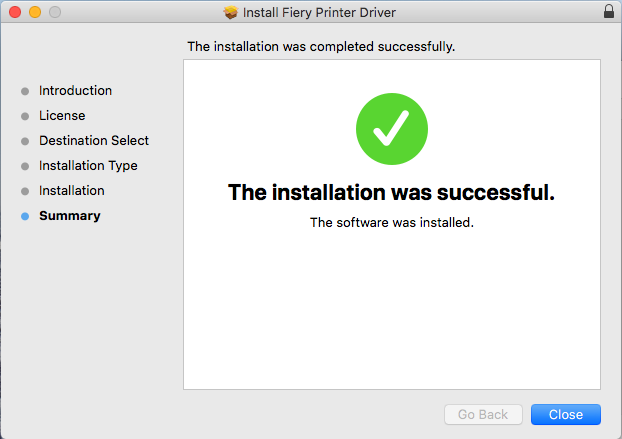
11. When finished close the installer.
Add a CS Printer
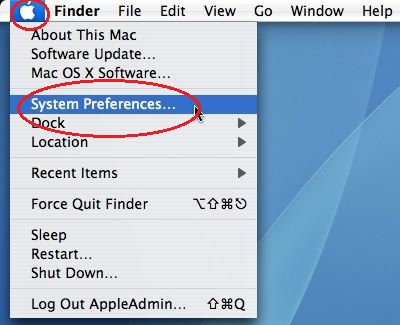
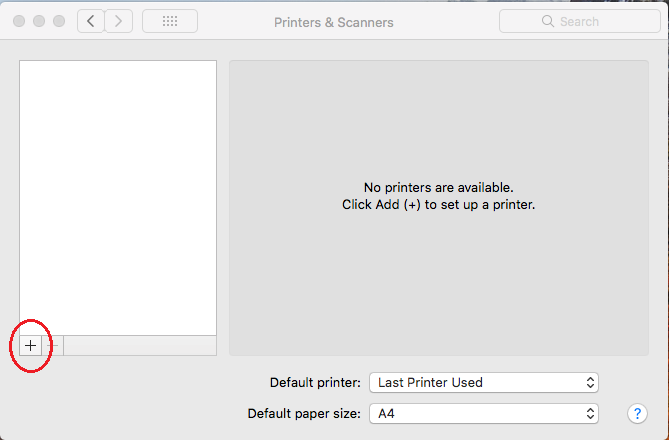
1. Select the Apple Symbol on your desktop, choose System Preferences, and then select Printers & Scanners.
2. Select the + to add a printer
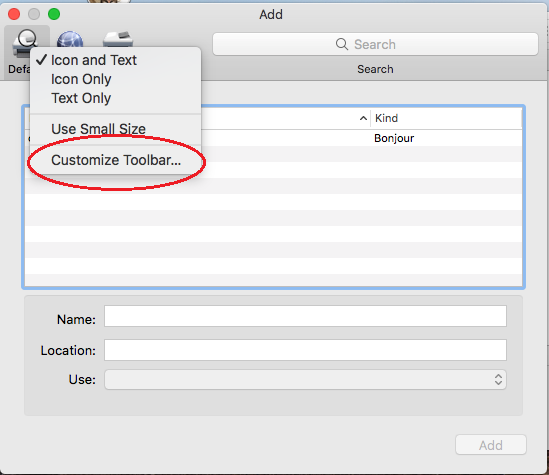
3. If there is no Advanced icon on your toolbar, hold down the [ctrl] key and click the toolbar and select Customize Toolbar.
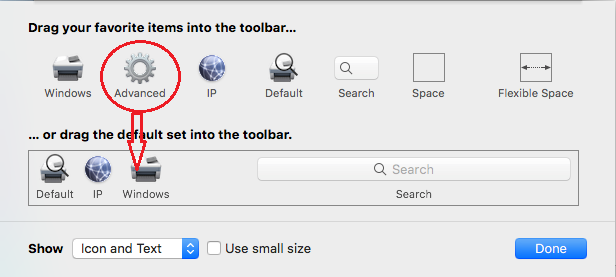
4. Drag the Advanced icon onto the toolbar.
5. Select Advanced.
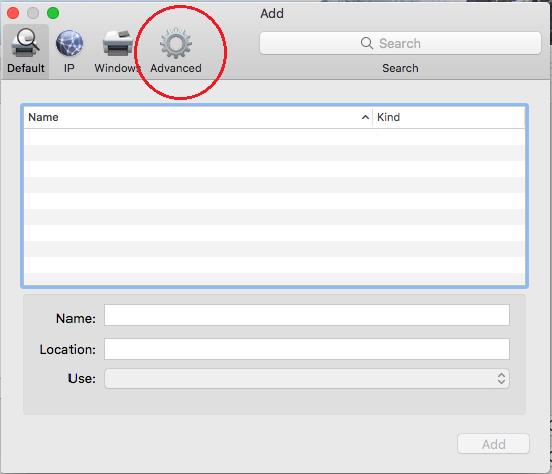
The next step requires you to enter the name of the printer you wish to use. To see the current list of printers open smb://winprint1/00readme/CS-printers.txt
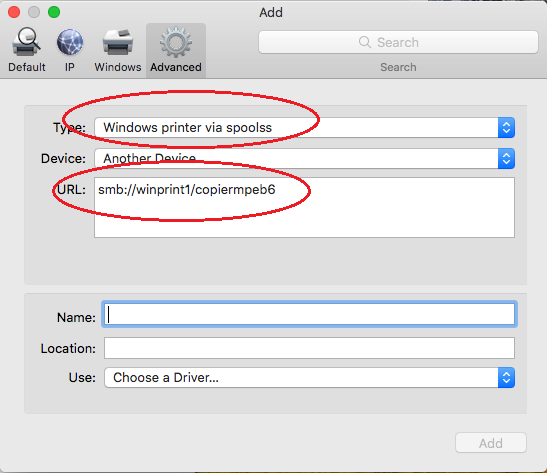
6. Select Windows printer via spoolss from the drop down Type list, enter smb://winprint1/printername (or smb://winprint2/printername), where printername is the CS printer you wish to use. Type the printername into the Name field.
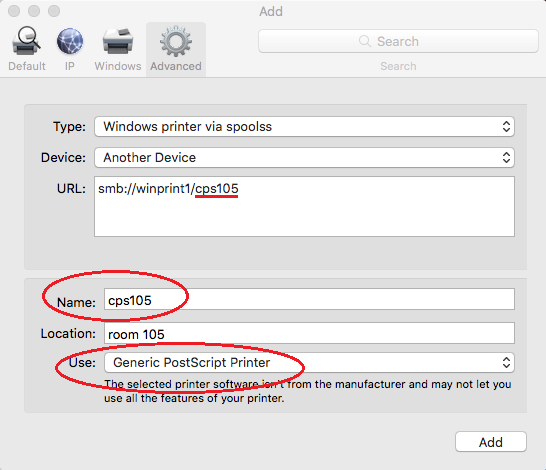
7. If it is not a Xerox printer, enter the printername into the Name field and the location into the Location field. Then, from the Use dropdown list, select Generic Postscript Printer.
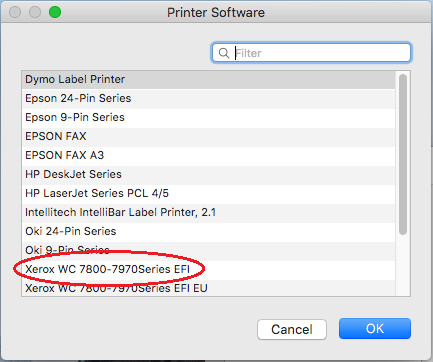
8. For a Xerox printer, enter printername into Name and type a location into Location. Then, from the Use dropdown list choose Select Software.

9. Then choose Xerox WC7800-7970 Series from the Printer Software list.
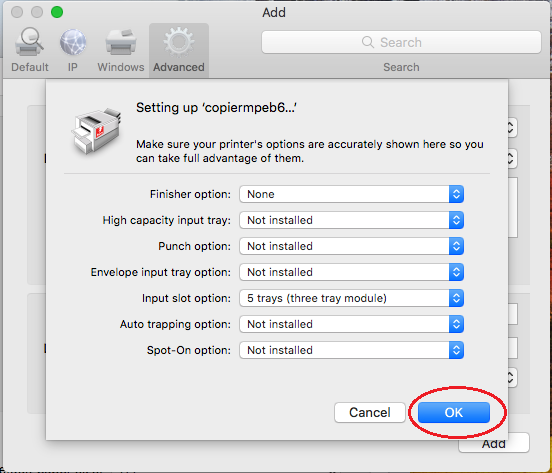
10. Select OK when the printer settings are displayed. These settings are different for Xerox and Generic Postscript printers.
11. The printer is now ready to use.

Secure Printing
The Xerox WorkCenter printers support secure printing by allowing you to associate a PIN to the printer. When you assign a PIN to a printer this is remembered until you unassign it so subsequent print jobs to that printer will require a PIN.
To set up secure printing:
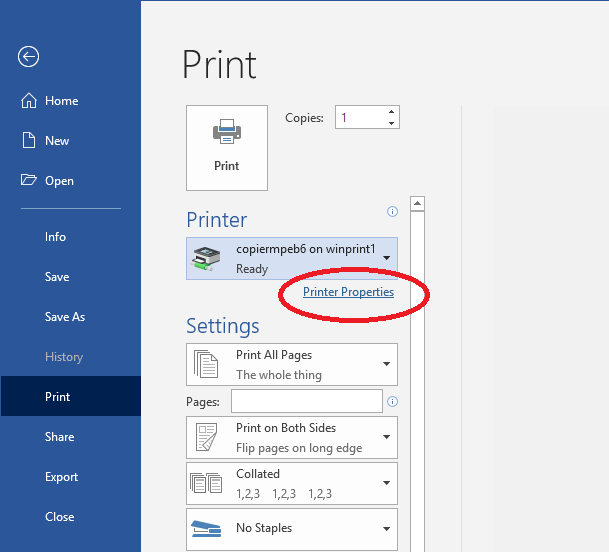
1. In your app, select the printer and then Printer Properties.
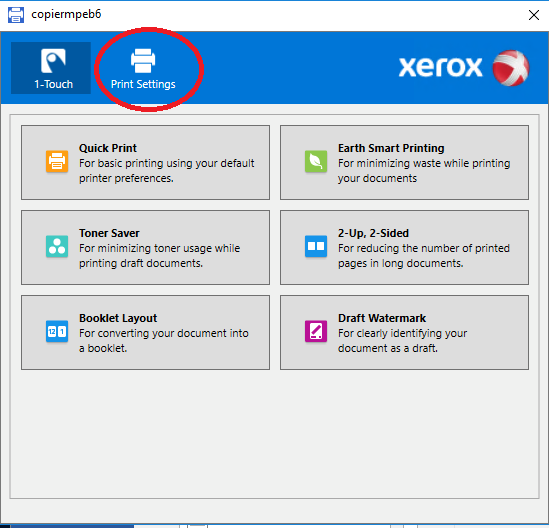
2. Select Print Settings.
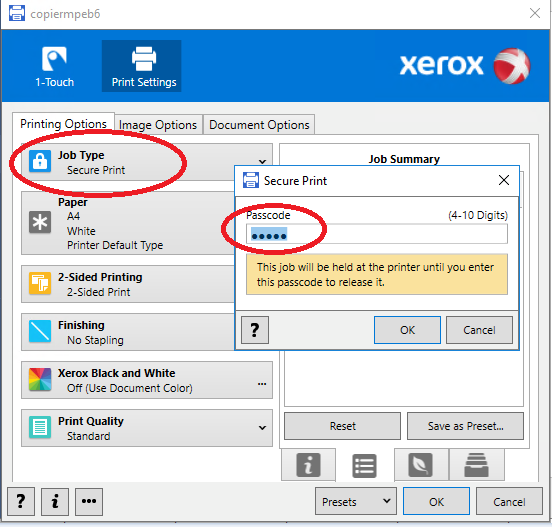
3. Under Job Type select Secure Print and enter a PIN.
To turn off secure printing:
1. In your app, select the printer and then Printer Properties
2. Select Print Settings
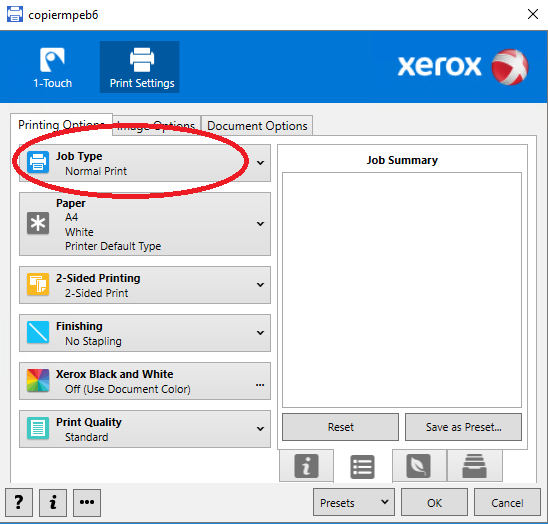
3. Under Job Type select Normal Print
- At the control panel, press the wake up button (10) printer if asleep.
- Press the print job status button (2), which looks like an [i]
- Press job on screen and select Release
